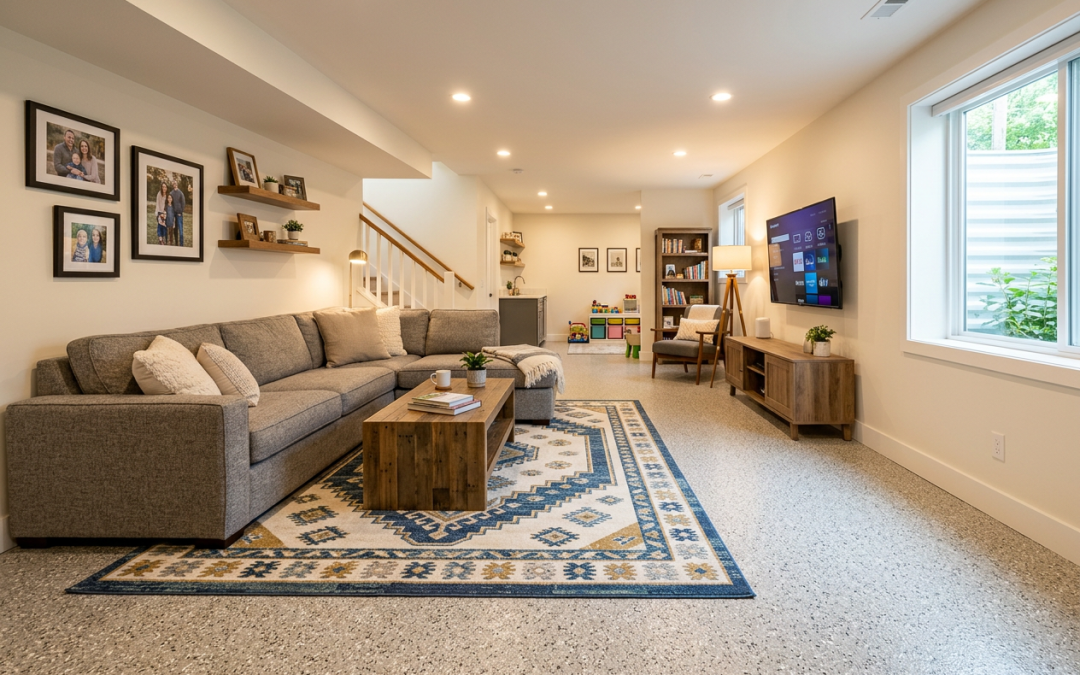
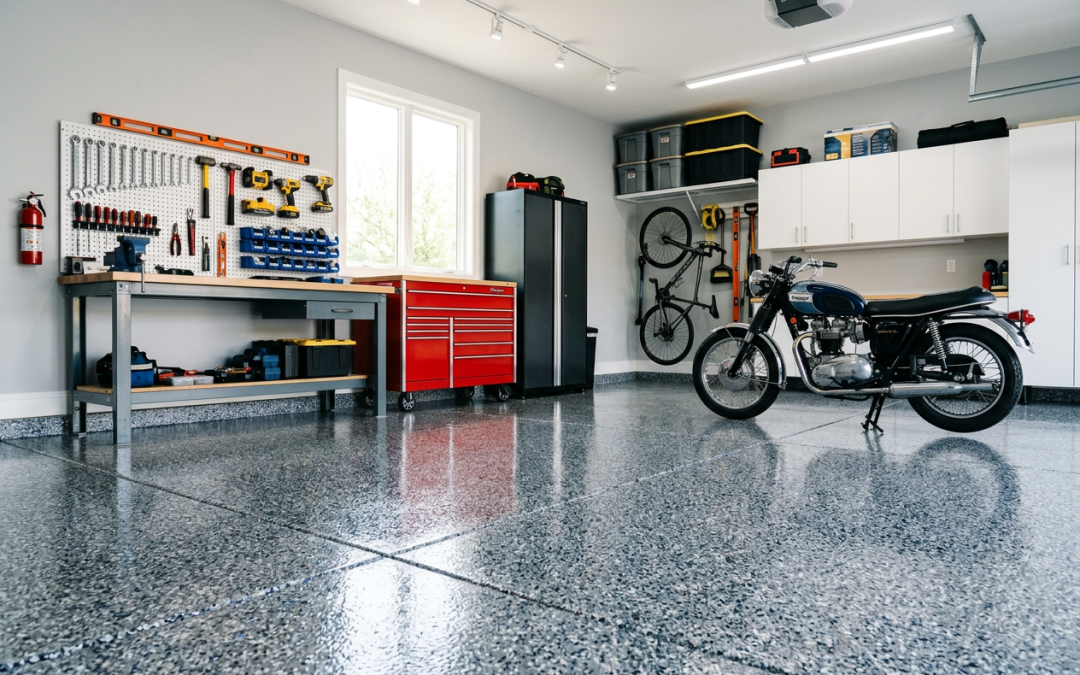
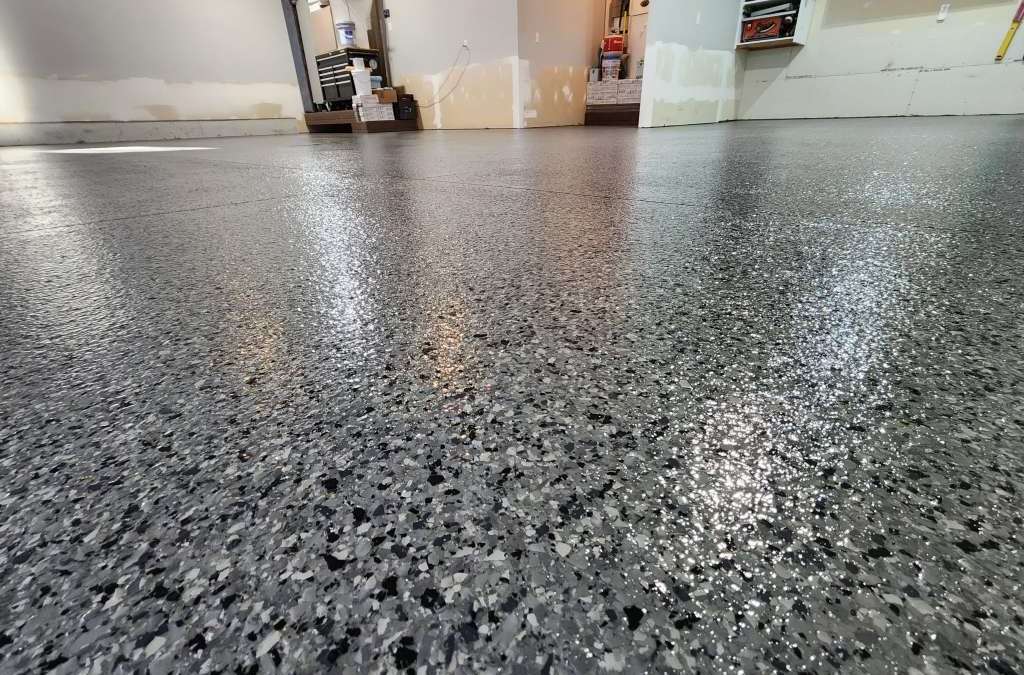
6 Steps To Coat A Garage Floor That Lasts A Lifetime
How To Coat a Garage Floor?
A coated garage floor not only looks great but also protects your concrete from stains, cracks, and wear. Whether you’re considering a DIY project or hiring a professional, understanding the process of coating a garage floor helps ensure the best results.
Below, we’ll break down how to coat a garage floor, the tools and materials needed, and when it’s best to leave it to the pros.
Why Coat Your Garage Floor?
A high-quality floor coating offers:
- A polished, professional look
- Protection against oil, salt, and chemical damage
- Easier cleaning and maintenance
- Increased property value
- Protects your garage floor for years

Choosing the Right Coating
Not all coatings are created equal. The most common options are:
- Epoxy: Durable and budget-friendly, but can yellow or peel over time.
- Polyurea/Polyaspartic: More flexible, UV-stable, and long-lasting; ideal for cold climates like Minnesota and are easy to clean.
- Acrylic Sealers: Budget-friendly but less durable.
For the longest-lasting finish, polyurea/polyaspartic coatings are typically the best choice.
Tools and Materials Needed
For a DIY epoxy or polyurea coating, you’ll need:
- Concrete grinder or etching solution (for surface prep)
- Degreaser and shop vacuum
- Epoxy or polyurea coating kit (primer, base coat, topcoat)
- Roller and paint trays
- Protective gear (gloves, respirator, safety glasses)
Step-By-Step Guide to Coating a Garage Floor
Step 1: Prepare the Surface
A proper surface profile is critical. Remove all oil stains, dust, and paint. Use a concrete grinder or acid etching for best adhesion.
Step 2: Repair Cracks
Fill any cracks or pitting with concrete filler. Smooth it level.
Step 3: Apply the Primer
Pour the primer onto the floor in sections and spread evenly with a roller.
Step 4: Apply the Base Coat
Mix the coating according to instructions and roll it out evenly. Work in small sections to avoid lap marks.
Step 5: Add Decorative Flakes (Optional)
Broadcast vinyl flakes for added traction and style.
Step 6: Apply the Topcoat
Once the base coat is cured, apply the clear protective topcoat for durability.
DIY vs. Professional Installation
While DIY kits are available, they often lack the durability of professionally installed polyurea systems. A professional team can:
- Grind and prep the concrete properly
- Use commercial-grade coatings that last 15+ years
- Complete the job in one day (polyurea cures fast)
Final Thoughts
Coating your garage floor is one of the best investments you can make to enhance your home and protect your concrete.
Call Fortress Floors of MN Today
Upgrade your garage with a professional polyurea floor coating that lasts for years. Call us to schedule your free estimate today!