The Polyurea Coating Process
Our team has perfected our process and can apply your garage floor coating in as little as 1 day. Explore the many steps we follow to ensure your concrete is protected and your coatings are applied to perfection.


Your Floor Consultation Comes First
Before we coat your floors, you’ll get a professional floor consultation where our team will evaluate your floor and advise you on how to best protect it. During your consultation, you can expect an honest assessment of your space. Our team can’t wait to share our knowledge of your concrete with you and ensure you make the best decision to protect the life of your floors.
During this consultation, we will also go over pricing. Pricing is based on square footage as well as the condition of your concrete. We will measure your space and evaluate any cracks, pits, and spalling (peeling from salt residue). We’ll also perform concrete moisture and hardness testing to ensure we know exactly what condition your existing concrete is in.
Next, you get to choose your coating color (the best part!). We’ll present color samples so you can see the coating options in your own lighting and space.
Preparation Comes Next
Preparation is the most important step in the installation process.
Before our team arrives, all you have to do is remove any vehicles and other belongings to clear the space we will be working in.
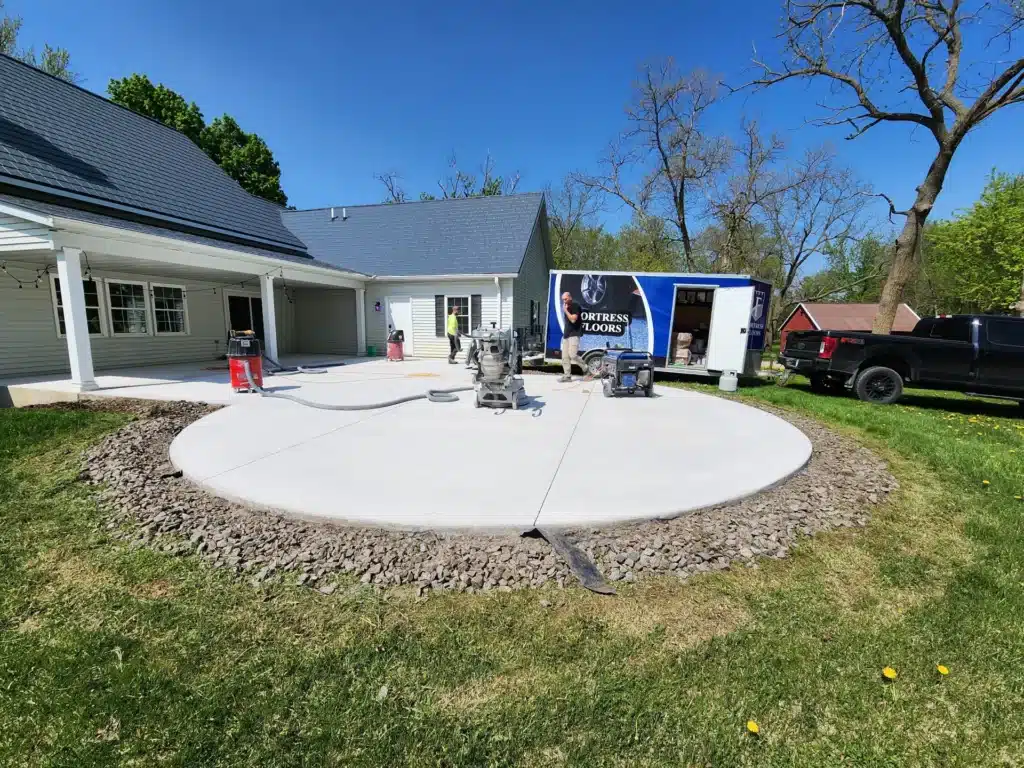
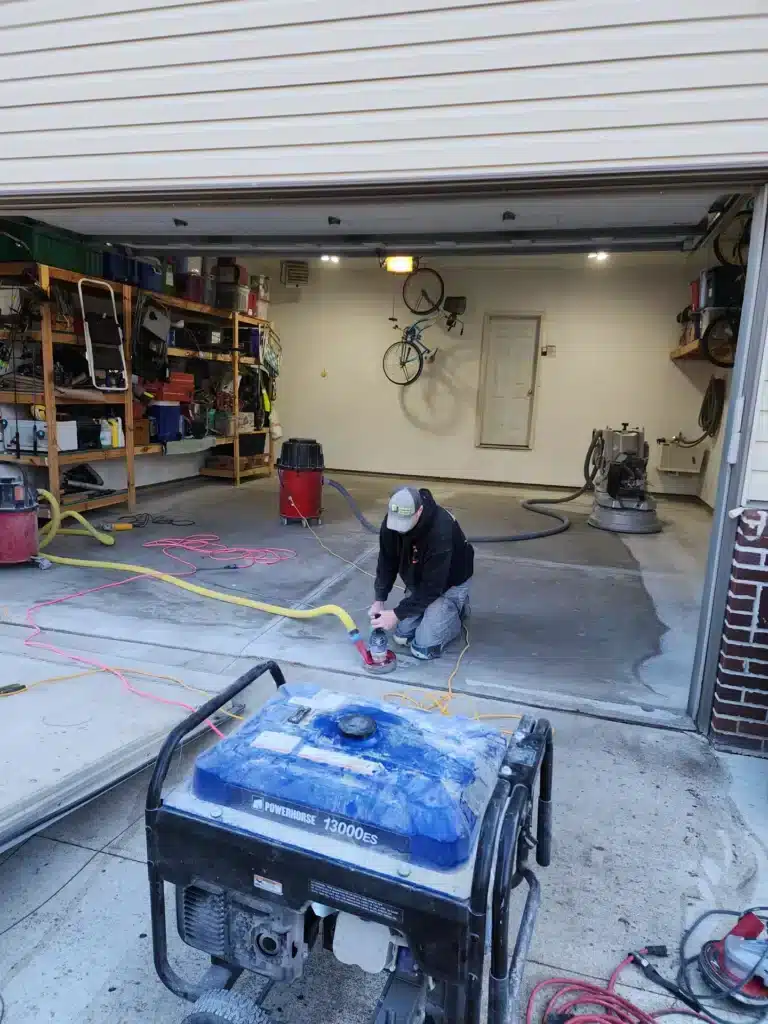
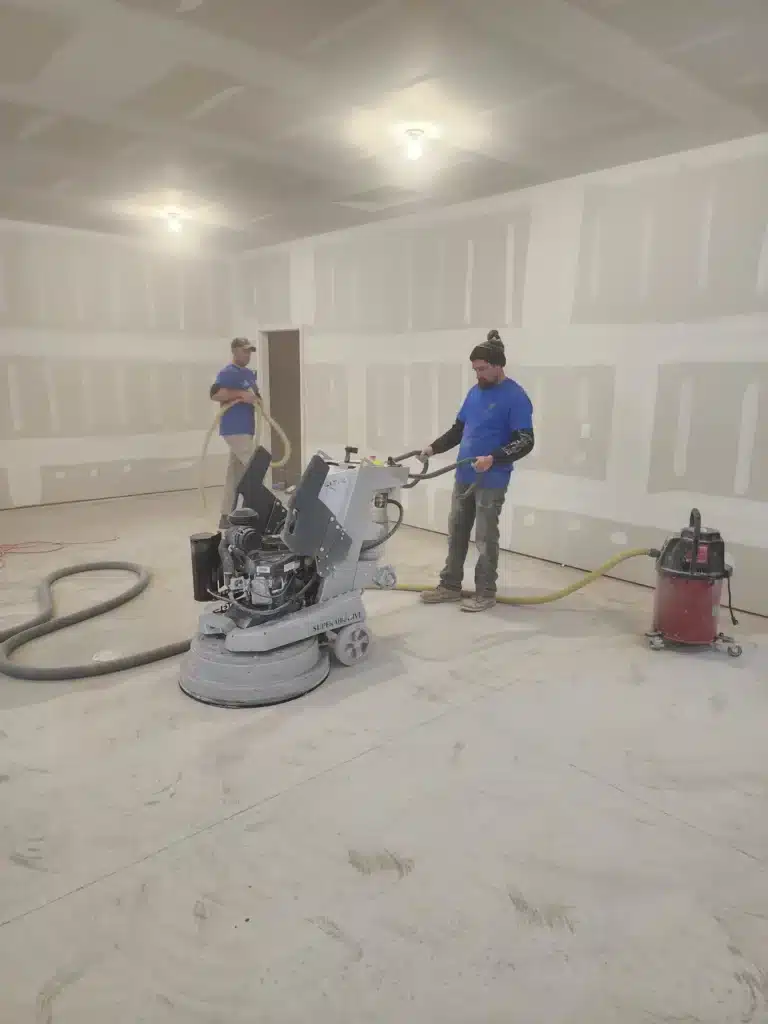
Once our team arrives, we’ll get to work preparing your concrete. To ensure proper adhesion to the concrete, we use state-of-the-art Lavina Concrete Diamond grinding equipment and smaller hand tools with diamonds to grind edge to edge. The diamond abrasives remove the first latent layer of concrete along with any other “bond breakers” such as sealer, overlays, paint, etc. This step opens up the pores of the concrete and roughs it up to enable better adhesion as the coating wicks down into the concrete. This is how we are able to provide our 15-year warranty.
Our team will also ensure any concrete dust is contained to maintain the cleanliness and safety of your home or business.


Concrete Repair is Included
The Best Part — Polyurea Coating Installation
Once your floor is properly prepared, we apply a 100% solid polyurea polyaspartic material that has two components and is tinted either gray or tan. It’s used as a primer to achieve superior adhesion to the open, porous concrete.
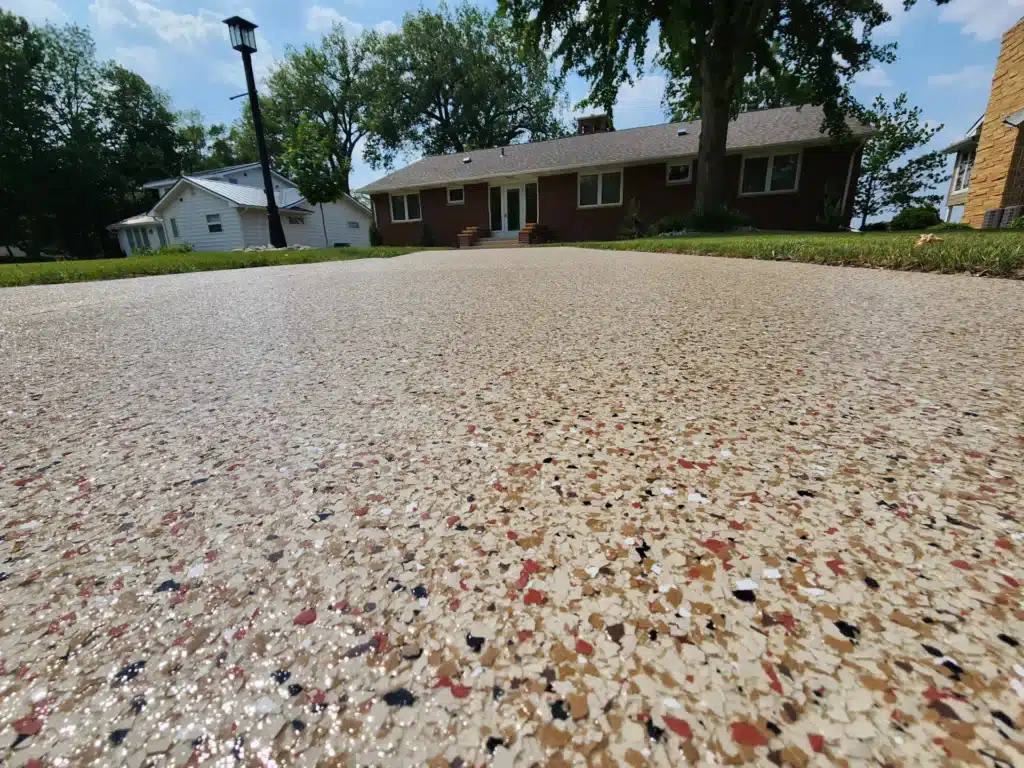
Following the base coat, we distribute the color flakes by hand. Any color flakes that do not adhere to the base coat will be reclaimed and reused on future jobs.
Finally, we apply our 96% Polyaspartic top coat. All vertical surfaces, steps, edges, and joints are treated with brushes and rollers first. Then the main field areas will be coated using a squeegee and back-roll method to ensure full encapsulation of the chip and an even finish. This is your protective layer. It is resistant to road salt, chemicals from your car, and extremely abrasion and stain-resistant. We also add an abrasive substrate in this step to achieve a slip-resistant finish. The other 4% of the top coat is composed of a solvent to ensure your coatings remain stain-repellant.
We always provide our clients with care instructions to maximize the lifespan of your polyurea coatings, even beyond the 15- year warranty period.

